How to add native support chat to your iOS and Android apps
Add a native Helpium chat to your iOS and Android apps in an afternoon: your AI answers instantly, your team takes over when needed, and replies arrive as push notifications.

Maximiliano Monge
Founder & editor at Helpium. Writing about AI-powered custom...

Your customers ask for help where they already are: inside your app. Sending them to a website or an email address adds friction at the worst moment. With the Helpium mobile SDKs you add a native support chat to your iOS and Android apps in an afternoon. Your AI agent answers right away, your team takes over when needed, and every conversation lands in the same Helpium inbox as your web chat, email and WhatsApp.
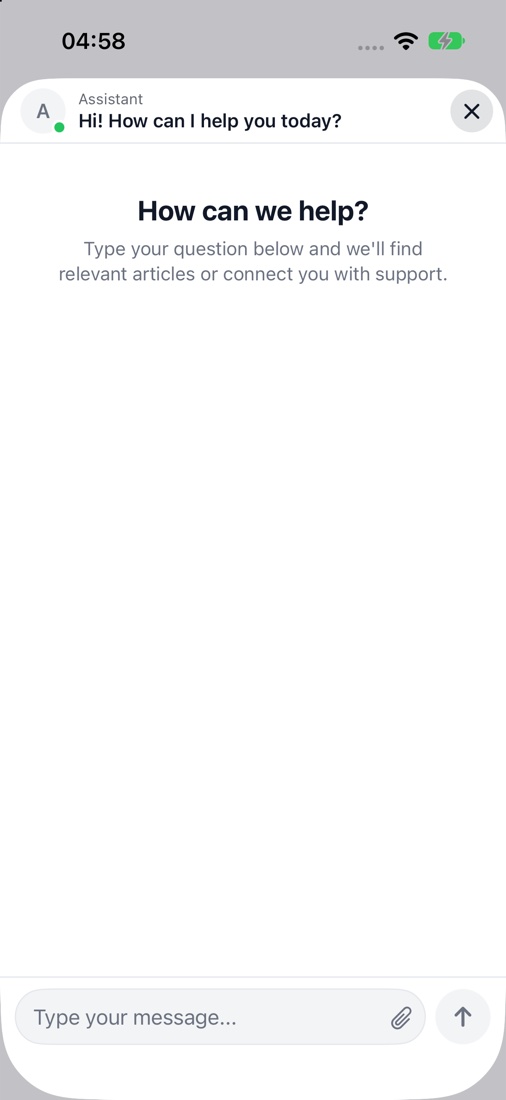
What you get
- A native chat, not a web view. SwiftUI on iOS, native views on Android. It feels like part of your app.
- Your AI agent included. The same knowledge, procedures and AI actions you set up for the web answer inside the app.
- A clean handover. The customer taps “Talk to a human” and your team replies from the inbox in real time.
- Push notifications. Agent replies reach the customer even with the app closed.
- Your brand. Every color, in light and dark mode, and every text, in every language.
Before you start: find your keys in Helpium
Everything the integration needs lives on one page of your Helpium workspace: Settings → Live Chat. The mobile SDKs are part of the Live Chat channel, so conversations from your app follow the same AI, handoff and business hours rules as your website chat.
The widget key is under Installation. It identifies your workspace and is meant to be public: it goes inside your app, just like it goes in your website's HTML. Copy it with the Copy button.

The identity secret is under Customer identification. Click Show or Copy. This one is private: store it on your server, as an environment variable, next to your other secrets. Never put it in the app, in source control or in a web page. Anyone with it could sign in as any of your customers. If it ever leaks, click Regenerate and update your server.

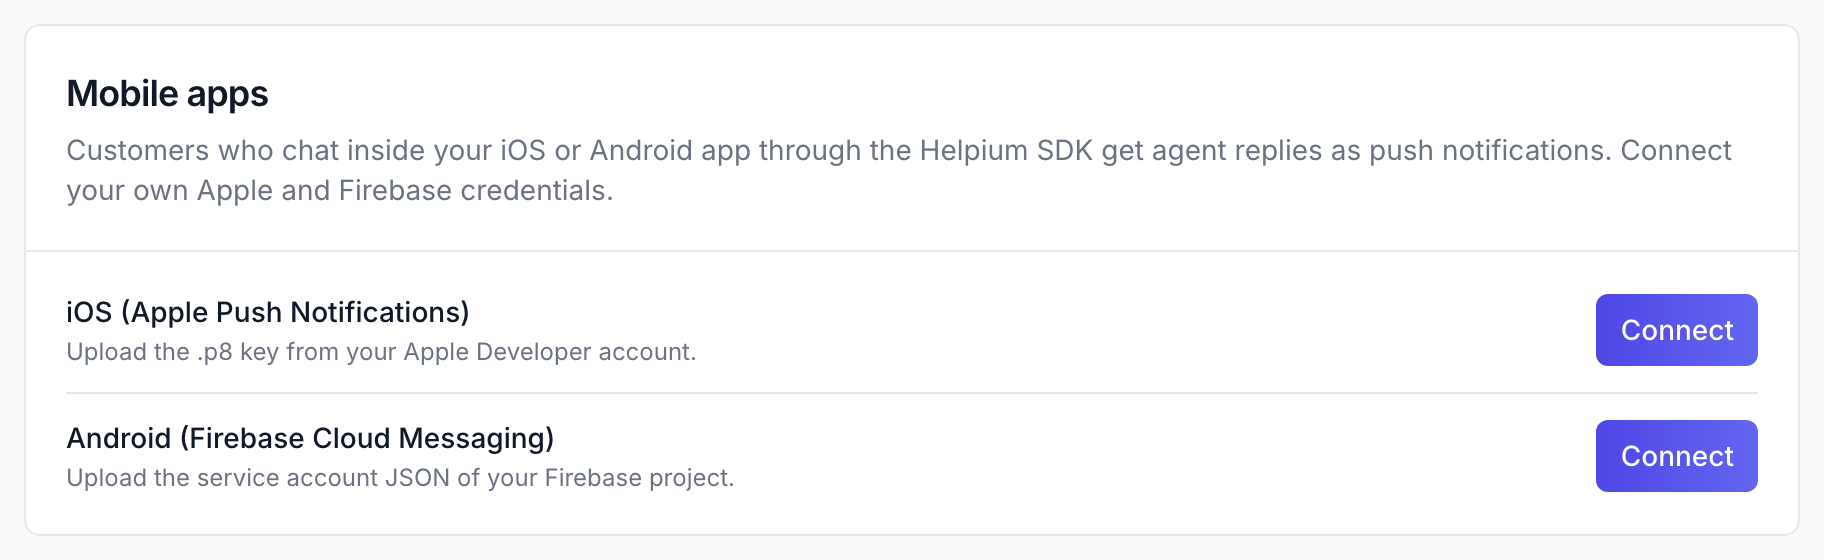
Push credentials are connected further down the same page, in Mobile apps. You only need them for notifications, so you can come back to this in step 4.
Step 1: Sign your users' identity on your server
When a customer is signed in to your app, your backend tells Helpium who they are by signing a short token with the identity secret. Their conversation then follows them across devices, the chat skips asking for their name and email, and AI actions can safely act on their account. Helpium doesn't care what your backend is written in: the token is a standard JWT, and every language has a library for it.
The token is a JWT signed with HS256, using the identity secret as the key. Its payload carries:
user_id: your own id for the user, as a string. Use this oremail, ideally both.email: the user's email.exp: when the token expires, in Unix seconds. Required. An hour is plenty.
JSON
{
  "user_id": "42",
  "email": "jane@example.com",
  "exp": 1767225600
}
Add an endpoint that only signed-in users can call, for example GET /api/helpium-token, that builds this token for the current user and returns it. Your app calls it after login and passes the result to the SDK. Here is the signing part in a few common stacks; any JWT library that supports HS256 works the same way.
Node.js
// npm install jsonwebtoken
const jwt = require('jsonwebtoken');

const token = jwt.sign(
  { user_id: String(user.id), email: user.email },
  process.env.HELPIUM_IDENTITY_SECRET,
  { algorithm: 'HS256', expiresIn: '1h' }
);
Python
# pip install pyjwt
import os, time, jwt

token = jwt.encode(
    {"user_id": str(user.id), "email": user.email, "exp": int(time.time()) + 3600},
    os.environ["HELPIUM_IDENTITY_SECRET"],
    algorithm="HS256",
)
PHP
// composer require firebase/php-jwt
use Firebase\JWT\JWT;

$token = JWT::encode([
    'user_id' => (string) $user->id,
    'email' => $user->email,
    'exp' => time() + 3600,
], getenv('HELPIUM_IDENTITY_SECRET'), 'HS256');
Ruby
# gem install jwt
require 'jwt'

token = JWT.encode(
  { user_id: user.id.to_s, email: user.email, exp: Time.now.to_i + 3600 },
  ENV.fetch('HELPIUM_IDENTITY_SECRET'),
  'HS256'
)
Java
// io.jsonwebtoken:jjwt-api + jjwt-impl + jjwt-jackson
String token = Jwts.builder()
    .claim("user_id", String.valueOf(user.getId()))
    .claim("email", user.getEmail())
    .expiration(new Date(System.currentTimeMillis() + 3_600_000))
    .signWith(Keys.hmacShaKeyFor(System.getenv("HELPIUM_IDENTITY_SECRET").getBytes(StandardCharsets.UTF_8)), Jwts.SIG.HS256)
    .compact();
No login in your app? Skip this step. The chat asks for a name and email before the first message.
Step 2: Add the chat to your iOS app
The iOS SDK is a Swift Package (iOS 15+, no other dependencies). In Xcode, choose File → Add Package Dependencies, paste https://github.com/helpium-io/helpium-sdk and add the Helpium product. Then:
Swift
import Helpium

// At launch
Helpium.configure(widgetKey: "YOUR_WIDGET_KEY")

// After login, with the token from your server
Helpium.identify(userJwt: token)

// From your Help button
Helpium.present()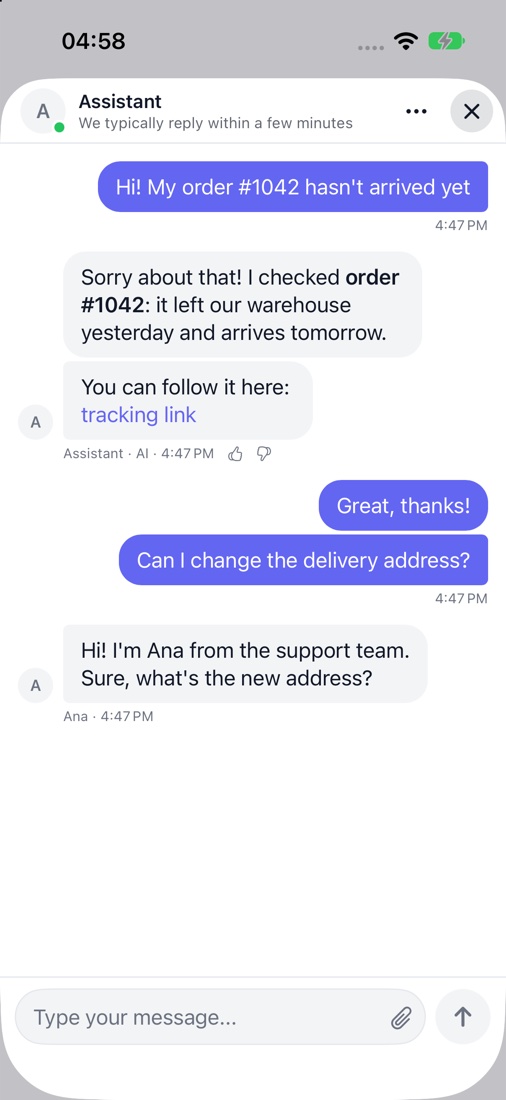
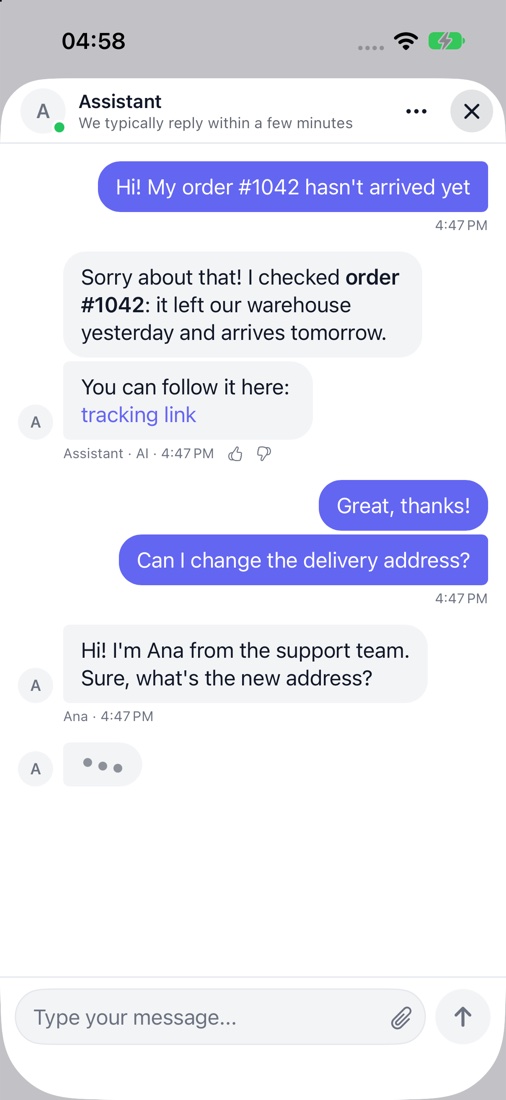
The chat opens straight into the customer's open conversation. While someone is writing, the customer sees it, and the AI's status while it looks something up.
Step 3: Add the chat to your Android app
The Android SDK supports Android 5.0 and later and works the same from Java and Kotlin. It uses plain Android views, so it fits old and new projects without adding androidx or Compose. Add JitPack and the dependency:
Gradle
// settings.gradle
maven { url "https://jitpack.io" }

// app/build.gradle
implementation "com.github.helpium-io:helpium-sdk:0.1.0"
Then, in your code:
Java
// Application.onCreate()
Helpium.configure(this, "YOUR_WIDGET_KEY");

// After login, with the token from your server
Helpium.identify(token);

// From your Help button
helpButton.setOnClickListener(v -> Helpium.present(this));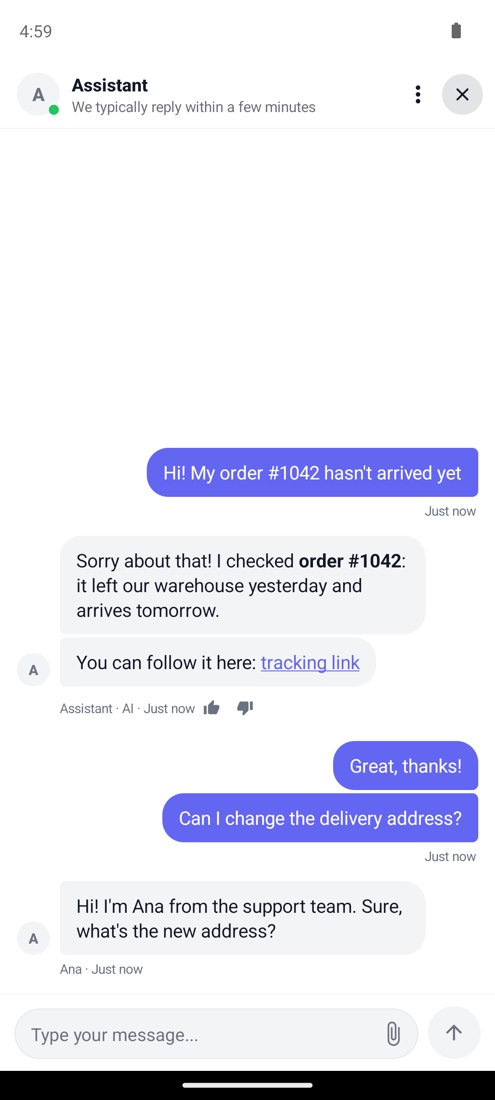
Using React Native or Expo?
The @helpium/react-native package wraps both native SDKs, so you get the same native chat from JavaScript. With Expo, use a development build.
React Native
import { Helpium } from '@helpium/react-native';

Helpium.configure({ widgetKey: 'YOUR_WIDGET_KEY' });
Helpium.identify({ userJwt: token });
Helpium.present();
Step 4: Turn on push notifications
Push notifications are sent from your own Apple and Firebase accounts, so they come from your app and you keep the keys. In Settings → Live Chat → Mobile apps, click Connect next to each platform:
- iOS: an APNs key (
.p8) from your Apple Developer account, with its Key ID, Team ID and your Bundle ID. - Android: the service account JSON of your Firebase project.
Then hand the device token and the taps to the SDK. It never registers its own notification service, so it works alongside the notifications your app already sends.
iOS
func application(_ application: UIApplication, didRegisterForRemoteNotificationsWithDeviceToken deviceToken: Data) {
    Helpium.setPushToken(deviceToken)
}

func userNotificationCenter(_ center: UNUserNotificationCenter, didReceive response: UNNotificationResponse) async {
    Helpium.handlePush(response.notification.request.content.userInfo)
}
Android
@Override
public void onNewToken(@NonNull String token) {
    Helpium.setPushToken(token);
}

// Launcher activity: a notification tapped with the app closed
Helpium.handlePush(this, getIntent().getExtras());
Make it yours
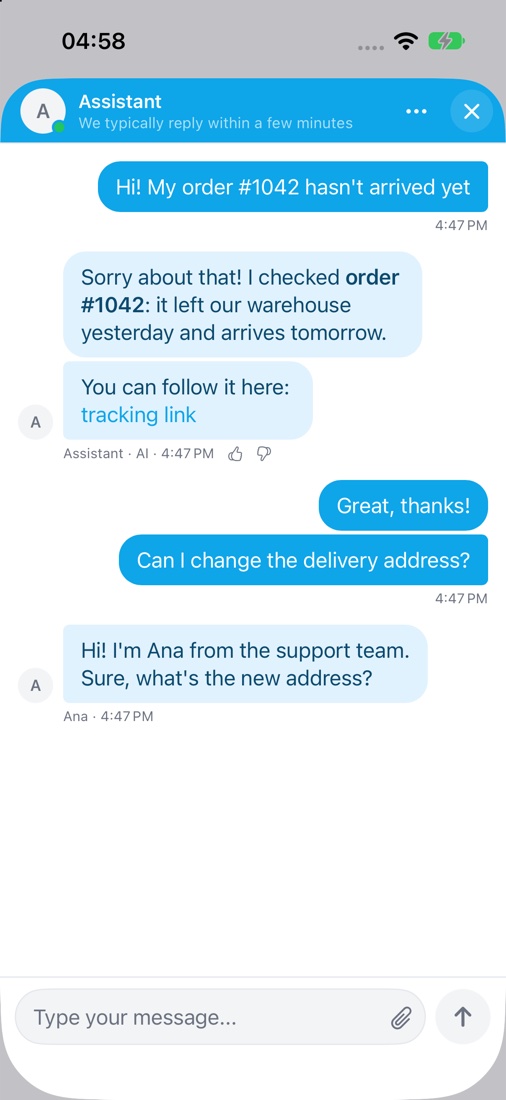
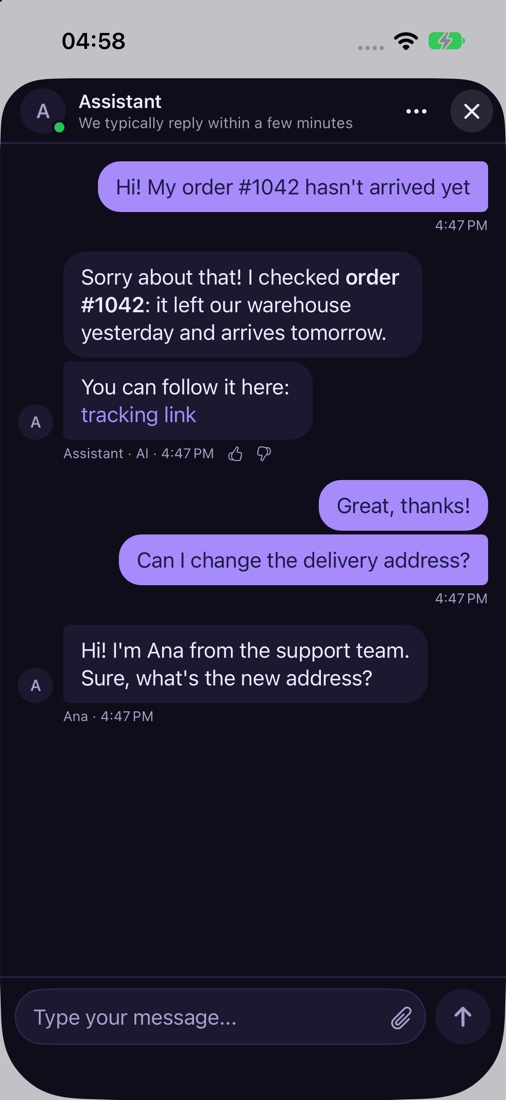
By default the chat uses the brand color from your Live Chat settings. Every color can also be set from the app, separately for light and dark mode, with the option to force one:
Swift
Helpium.setAppearance(HelpiumAppearance(
    light: HelpiumColors(
        primary: "#0ea5e9",
        headerBackground: "#0ea5e9",
        headerText: "#ffffff"
    ),
    dark: HelpiumColors(
        primary: "#a78bfa",
        background: "#0f0d1a",
        surface: "#1c1830"
    )
))
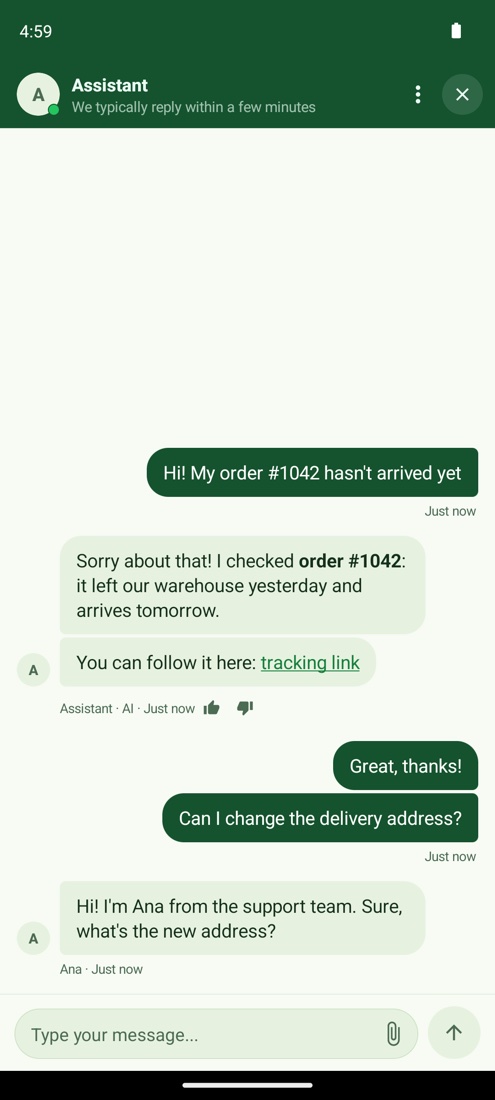
Every text is yours as well: the greeting, the welcome text, the placeholder. Override them per language with string resources on Android and Localizable.strings on iOS, and add languages Helpium doesn't ship:
XML
<!-- res/values-es/strings.xml -->
<string name="helpium_greeting">¡Hola! ¿Te ayudamos con tu pedido?</string>
Test it before you ship
- Signed in, open the chat: it greets the customer without asking for their details.
- Ask a question: the AI answers in seconds.
- Tap “Talk to a human”: the conversation appears in your Helpium inbox.
- Reply from the inbox: the answer appears in the app in real time.
- Close the app and reply again: a push notification arrives and opens the conversation.
Next steps
- The SDK repository on GitHub has the full reference and example apps you can run in a simulator.
- Step-by-step guides in the help center: iOS, Android, push notifications and identity verification.
- Everything for developers in one place: helpium.io/developers.
AI-powered support without AI-powered pricing
Unlimited seats. One flat price. Serve customers with AI and a human team when it matters.
Keep reading

How to read your dashboard to know whether your AI is really working
Turning on an AI chatbot is easy. Knowing whether it's adding value or quietly creating problems is another matter. The answer is in your dashboard—if you know what to look at.

Your knowledge base is the brain of your AI: how to write articles the bot understands
An AI chatbot is never smarter than the content it learns from. If your knowledge base is incomplete or poorly written, it doesn't matter what model sits behind it: the answers will be just as imprecise.